A box-framed window has an upper and lower sash, each counter-balanced by hidden weights on each side of the window.
The weights go up and down inside box sections as the windows are opened or closed.
If one of the cords attached to the weights breaks, it is advisable to replace all the cords on that window.
Replacing these cords is a relatively simple job.
Materials Needed
- One inch galvanized roofing nails (6 or 8 per sash)
- Sash cord
- Panel pins
Tools Needed
- Hammer
- Pincer
- Wood chisel
- Utility knife
Steps

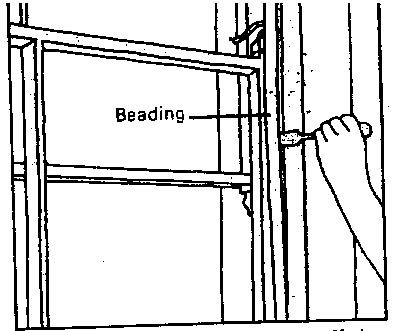
- Before prying off the beading around the window, use a utility knife to score along the painted joints.
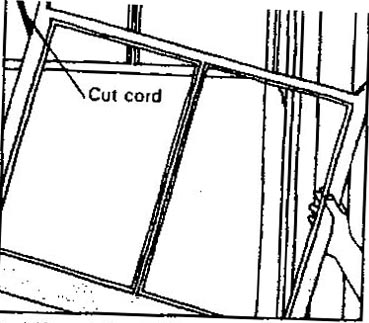
Using a wood chisel, remove the interior beading from both sides of the window. - Lift out the bottom sash, cutting the sash cord if it is still intact.
Lower the weight to the bottom of the box.
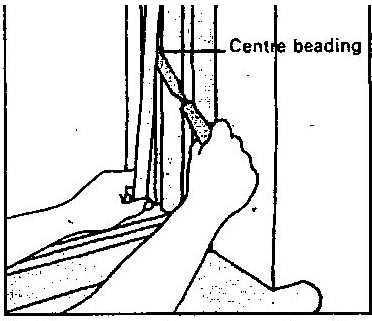
Pry out the center beading that separates the sashes.
Cut the cords and lift out the top sash.
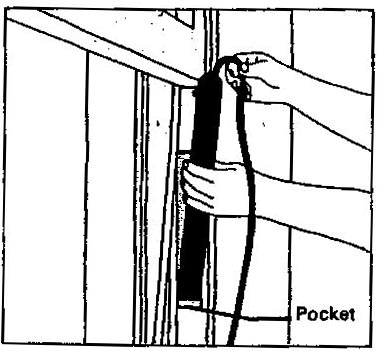
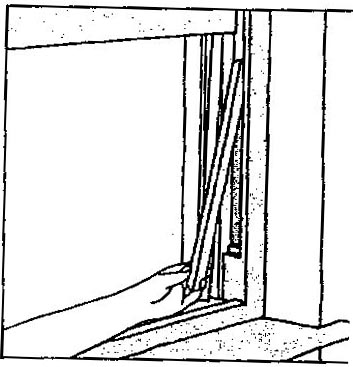
Remove the wooden caps from the pockets on either side of the window frame.
Lift the weights out of each box section.
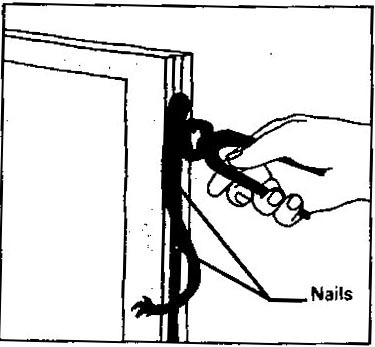
Pull out the nails that secure the cords to the sides off the sash.
Discard old cords.
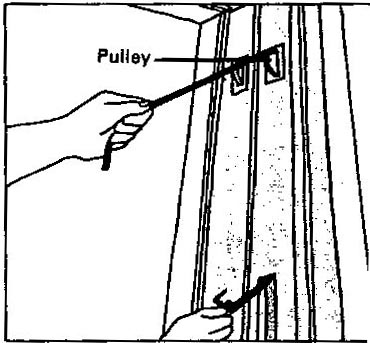
Tie a piece of string to a bent nail.
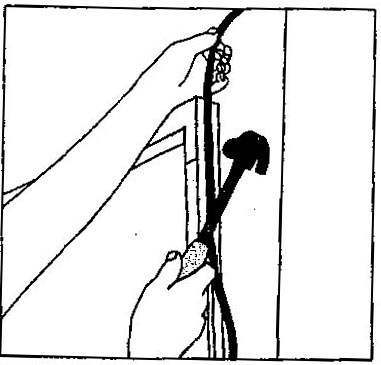
Push the nail and string over the pulley, lowering it until it comes out through the pocket.
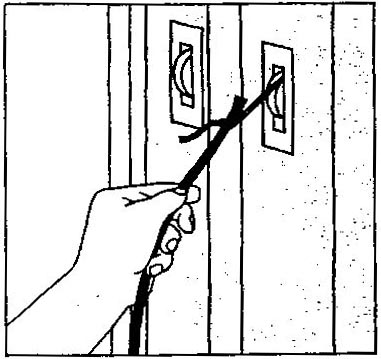
Remove the nail, tie string to the new sash cord
pull it over the pulley and out through the pocket.
Remove string and tie cord to a weight.
Push weight in through the pocket and lower it into the box section.
Tie a knot in the end of the cord.
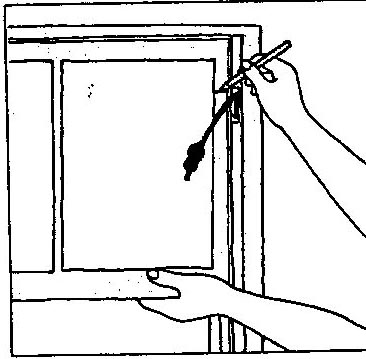
Hold the lower sash against the top and mark the pulley position on the side.
Lower the sash.
Pull cord tight and nail it in the groove, down from the mark.
Repeat on the other side.
Lower upper sash cords over outside pulleys.
Fix the weight. Hold sash at bottom.
Cut the cords to length and nail them to the sash on both sides.
Refit the beading and the pocket covers.
Now that the beading is back in place.
Check the paint, if it is rough use a caulk that can be painted on to seal the joint.
Remove any excess and the job is done.

