(937) 372-1445

Buyer's Inspection Service

Dayton, Ohio Home Inspectors

  • Home Inspections
    • The Inspection
    • Walk Through Inspection
    • New Construction
    • Inspection Report
    • Testing & Evaluation Options
    • Pricing
  • Commercial
    • The Inspection
    • Walk Through Inspection
    • The Inspection Report
    • Testing & Evaluation Options
    • Pricing
  • Consultation
    • Consultation Service
      • The Consult
      • Post Consultation
      • Pricing
    • Maintenance
      • Benefits
      • The Inspection
      • The Report
      • Pricing
  • Information
    • Choosing Inspectors
    • Comparing Inspectors
    • Licensed Inspectors
    • Walk Through Inspection
    • Sample Report
    • Additional Testing Options
  • About
    • The Inspection Team
    • How We Started
    • Our Home Inspection Guarantee
  • FAQ
    • Blog
    • Contractors
  • Contact Us
  • Reviews
You are here: Home / Frequently Asked Questions / Water / How to Disinfect a Well

How to Disinfect a Well

Plan on spending some time doing this job. It is better to do it right the first time. It only takes a small amount of bacteria left in the pipes to re-infect the whole system.

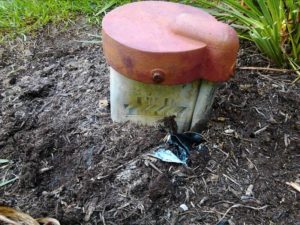
  1. During this procedure water will not be drinkable, so plan to do the test at a time when there is little need for water. Use three gallons of fresh, unscented household bleach (Clorox has a higher bleach content than generics). Large diameter or very deep wells may require more chlorine. Dilute the chlorine, one gallon at a time in a large bucket of water.
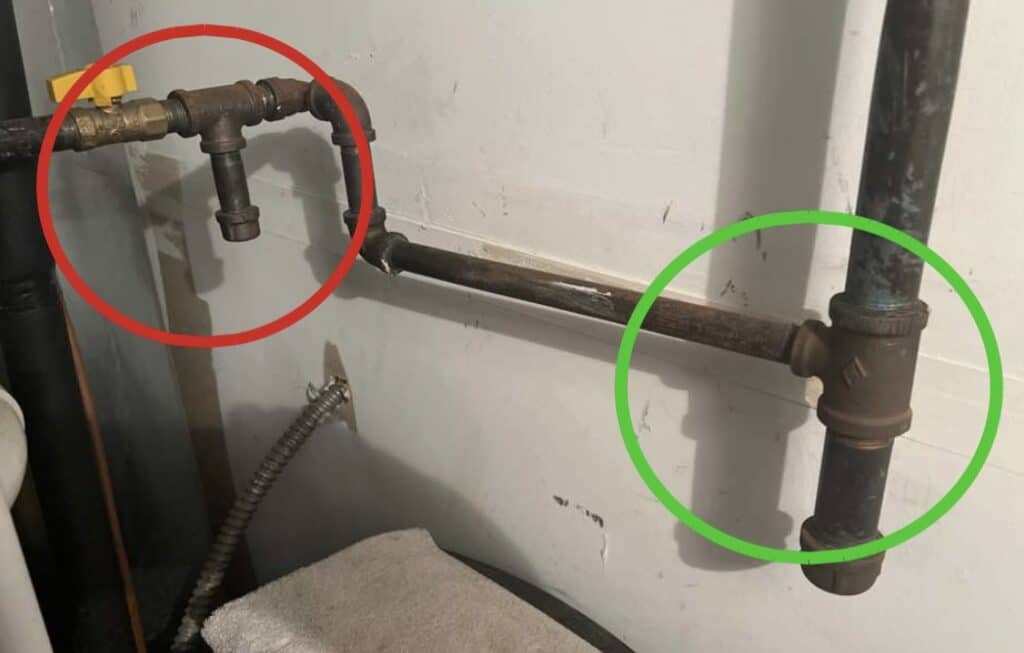
  2. Remove the cover from the top of the well’s casing. Pour the chlorine solution into the well casing. Using a clean hose connected to a faucet that operates from the well, pour water into the well casing until such time as you can smell chlorine coming from the water in the hose. As the hose is removed rotate it inside the casing to disinfect it. Replace the cover on the casing.
  3. Open each faucet in the distribution system until you smell chlorine, then turn off. The goal is to get the chlorine solution to all the parts of the plumbing, including both hot and cold waterlines. It is necessary to run 30 or 40 gallons of water through the hot water tank. Be sure to flush all the toilets.
  4. Leave the chlorinated water in the pipes a minimum of two hours, preferably overnight.
  5. Open all faucets and flush out the chlorine solution until you can no longer smell it.
    NOTE: If the home is on a septic system use a hose draining to yard when flushing the system. The septic may not be able to handle the large volume of chlorinated water.
  6. The well water distribution system should now be disinfected. Follow-up sampling should be done after all traces of the chlorine are gone to insure that the disinfection procedure was successful.

NOTE: Large amounts of chlorine can damage the resin in water softeners so they may need to be bypassed before initial disinfection and then let the water flow through when the water has been flowing for about an hour. In general it is usually safe to also chlorinate the water softener, check the with the manufacturer if the owners manual states that it should not be chlorinated.

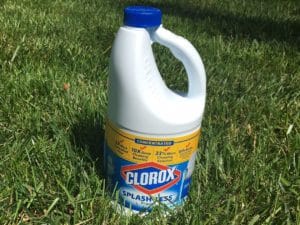
Any in-line water filters should be removed and replaced with new filters after the disinfection is completed, tested and the results are negative.

If you have chlorinated the well and the results have come back positive (it still has bacteria). Re-chlorinate the well using one more gallon of bleach than was originally used, and have a water sample re-tested. If the test results come up positive again, a well technician should be contacted. They will “shock” the well using bleach tablets. Homeowners should not attempt to use these tablets, they are highly toxic and difficult to use.

NOTE: Do not use chlorine tablets or swimming pool chlorine, it if too strong and may render the water undrinkable for quite some time.

Inspectors’ Recent Posts


Gas Line Dirt Legs

March 28, 2025 By David Roche

Gas and particularly natural gas piping may have traces of sediment or particulates in it, especially if work has been done to the underground piping under the street. To trap any contaminates before they flow into the appliance, blocking the burner and creating problems for the home owner a series of dirt legs are installed. […]Read More about Gas Line Dirt Legs

Thermostat Placement Is Crucial

March 13, 2025 By David Roche

A badly placed thermostat plays havoc with the heating and cooling of a house. In this case the wall light creates a warm zone beside the thermostat causing it to register hotter than the rest of the house. This means that it reaches what it registers as the set temperature shutting the furnace down before […]Read More about Thermostat Placement Is Crucial

Bath Overflow Loose

January 25, 2025 By David Roche

All too often the overflow on the bathtub is loose or worse yet loose and the gasket damaged. If the bath is filled up to the overflow and it is loose the water will go down behind the tub which if it’s on the second floor could damage the ceiling. The water can also create […]Read More about Bath Overflow Loose

Bonding Gas Piping

January 8, 2025 By David Roche

A bonding wire is often mistaken for a ground wire, it does not go to ground but back to the electric panel. When it is connected to black iron *(steel)* piping the paint under the clamp must be removed with a rasp or sandpaper to make a good contact, paint reduces the contact rendering the […]Read More about Bonding Gas Piping

High Efficiency Furnaces In Attic

December 31, 2024 By David Roche

High efficiency furnaces recognisable by the white PVC flue pipe, installed in an unheated attic is not your best choice of location, it may be the only place to put it which does not change the fact that it is not ideal. Yes, many builders and furnace installers are installing them in the attic without […]Read More about High Efficiency Furnaces In Attic

Buyer's Inspection Service

Mailing Address
P.O. Box 707
Xenia, OH 45385

Address (No walk-ins)
120 West Second Street
Dayton, OH 45402

Clebrating 26 Years of Business
ASHI - American Society of Home Inspectors
InterNACHI - International Association of Certified Home Inspectors
ASI - American Inspectors Society

Connect with Us

  • facebook
  • youtube
  • phone
  • email

NAHI - National Association of Home Inspectors, Inc.

About Us

We are local, not a franchise that "self certifies" its Inspectors. We have earned the highest level of licensure available in the country and are ready to give you the Inspection you deserve. Our referrals and reviews tell us that we are really detailed, strive to deliver a quality product and are great at explaining what we find.

Customer Reviews

Google Rating
5.0
Based on 563 reviews
Facebook Rating
5.0
Based on 25 reviews
Yelp Rating
5.0
Based on 13 reviews

(937) 372-1445
© 2026 Buyer’s Inspection Service · Legal Disclaimer